Where BIM › Execution › Programming › RQs
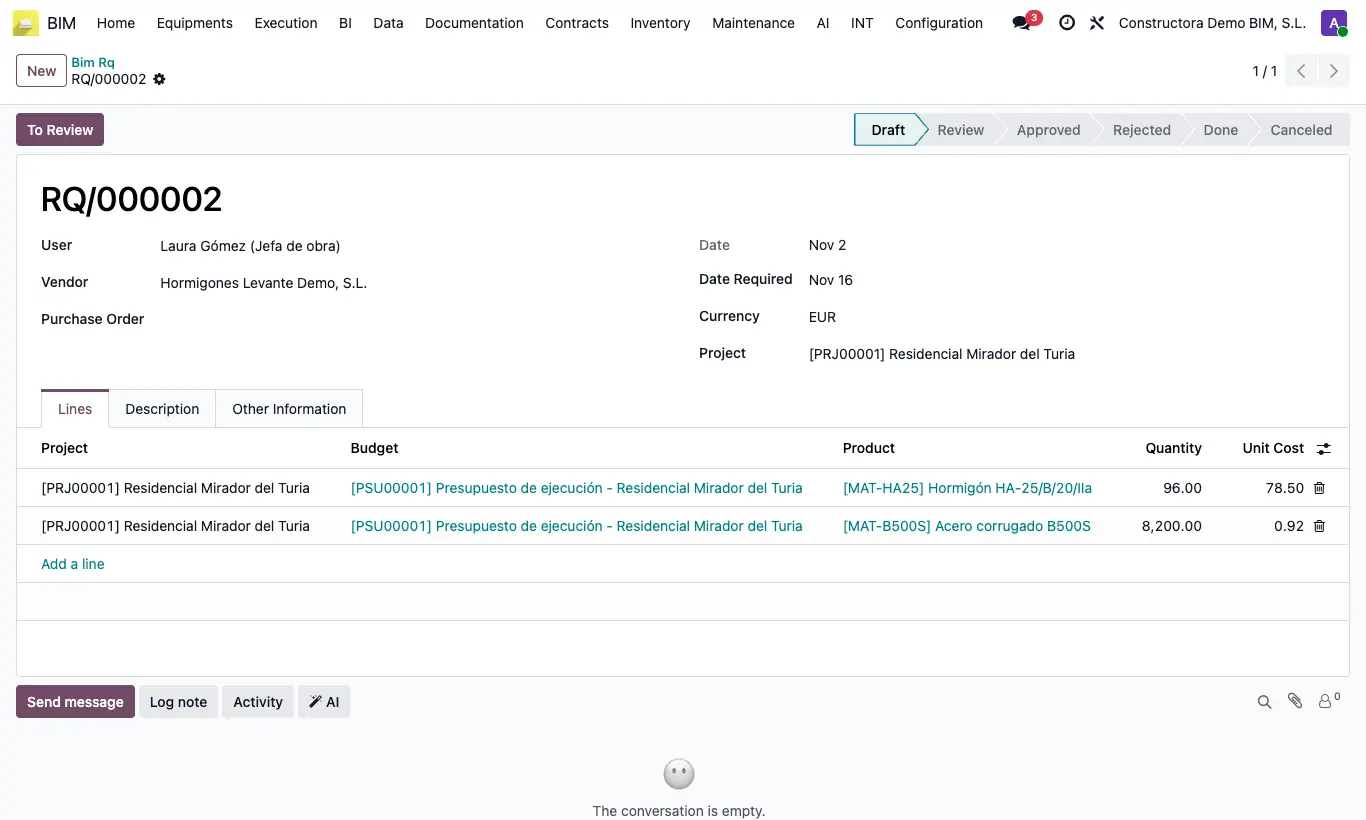
Steps
- Click New. The Code is filled in automatically on saving; the User is you.
- Enter the Date Required and, if you already know it, the Vendor (the order's supplier).
- In the Lines tab add each product: Project, Budget, Product and Quantity. The Description is filled in with the product name. The header's Project is taken from the first line.
- Explain the reason in the Description tab and click To Review.
- The reviewer clicks Approve or Reject.
- With the RQ Approved, click Set to Done: a purchase order is created to the Vendor with all the lines, the project and the budget of the first line, and it is linked in Purchase Order.
Warning
Without lines "You cannot mark an RQ without lines as done." appears and without a Vendor, "You must set a supplier before marking the RQ as done.".
The order is created with price 0 on all lines: the RQ's Unit Cost is not copied. Enter the prices in the order before confirming it.
All lines go to a single order with the project and budget of the first line: make one RQ per project.
Site note
The project shows its RQs in the RQs button on its form.
Set to Draft reopens the RQ from any state; if it already had an order, finishing it again does not create another.