Where BIM › Equipment › Rents › Tool rent
Before you start
Products with the Tool box ticked.
Steps
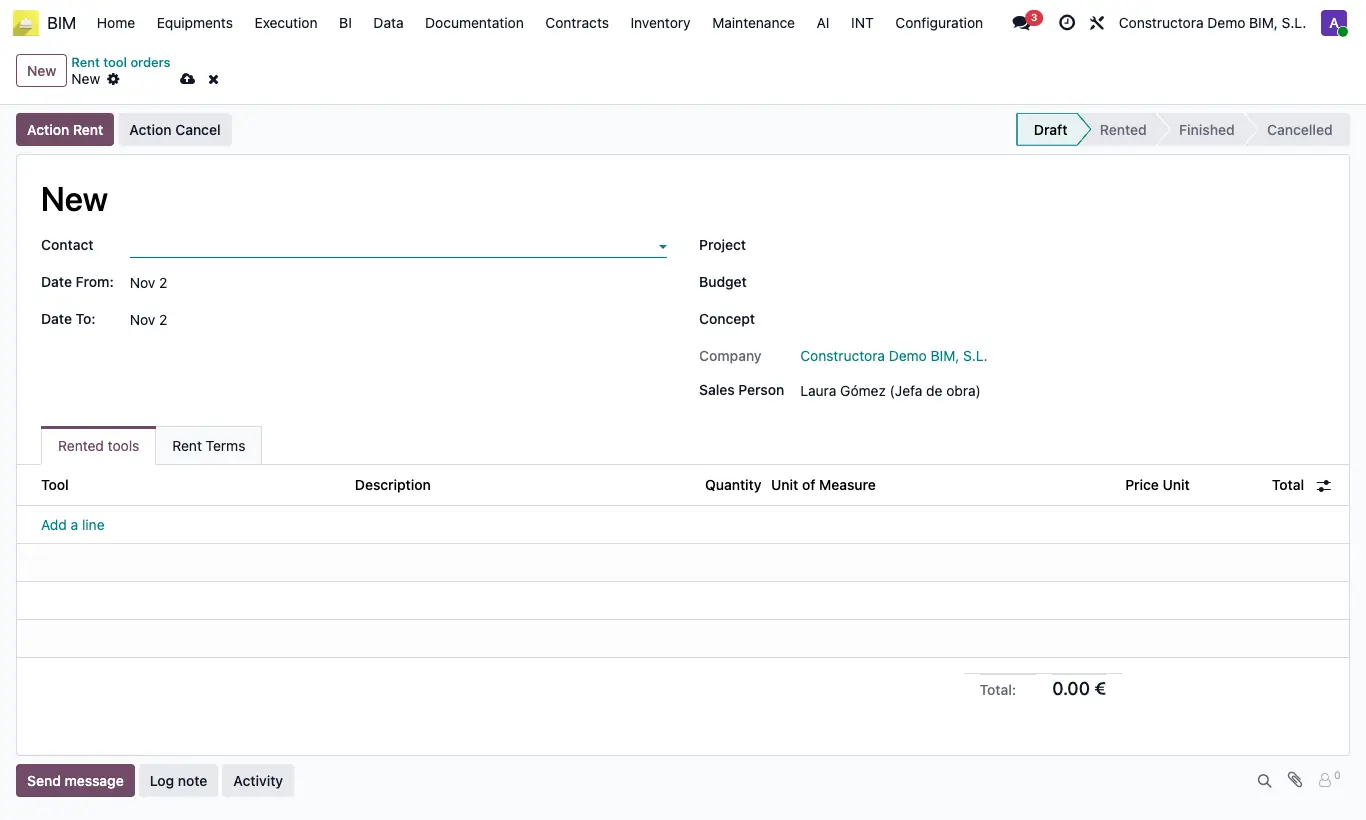
- Go to Equipment › Rents › Tool rent and click New.
- Choose Contact, Date From:, Date To: and Project (and if you want Budget and Concept).
- In the Rented tools tab add each Tool: the Quantity is the days between the dates (minimum 1) and the Price Unit is its sale price.
- Click Action Rent: it moves to Rented and the project amounts are recalculated.
- When they are returned, click Action Finished.
Warning
Without dates, choosing a tool warns “Select dates to continue!”.
Changing dates or contact recalculates the quantity and price of all lines.
Site note
If the Contact is an employee's (their user), a tools delivery in their name is also created and validated.
From an Approved material request, the Tool Rent button creates the rental with its tools; tick Separate tools for one rental per tool.
The cost adds to the project as Tools rent while it is Rented or Finished.